ic Kathe With an E: February 2014

Wednesday, February 26, 2014

Movie Night

I think we are finally to the point where life is pretty much back to normal after moving, holidays, traveling, etc. etc. etc.!
We now feel like we can come home from work and relax, which is nice.
We can also go back to our, infrequent but special, date nights.

One of things we used to do every Friday or Saturday night is have date night movie night. I've missed those and decided to surprise Mr. B with stay at home, Date Night Movie Night!

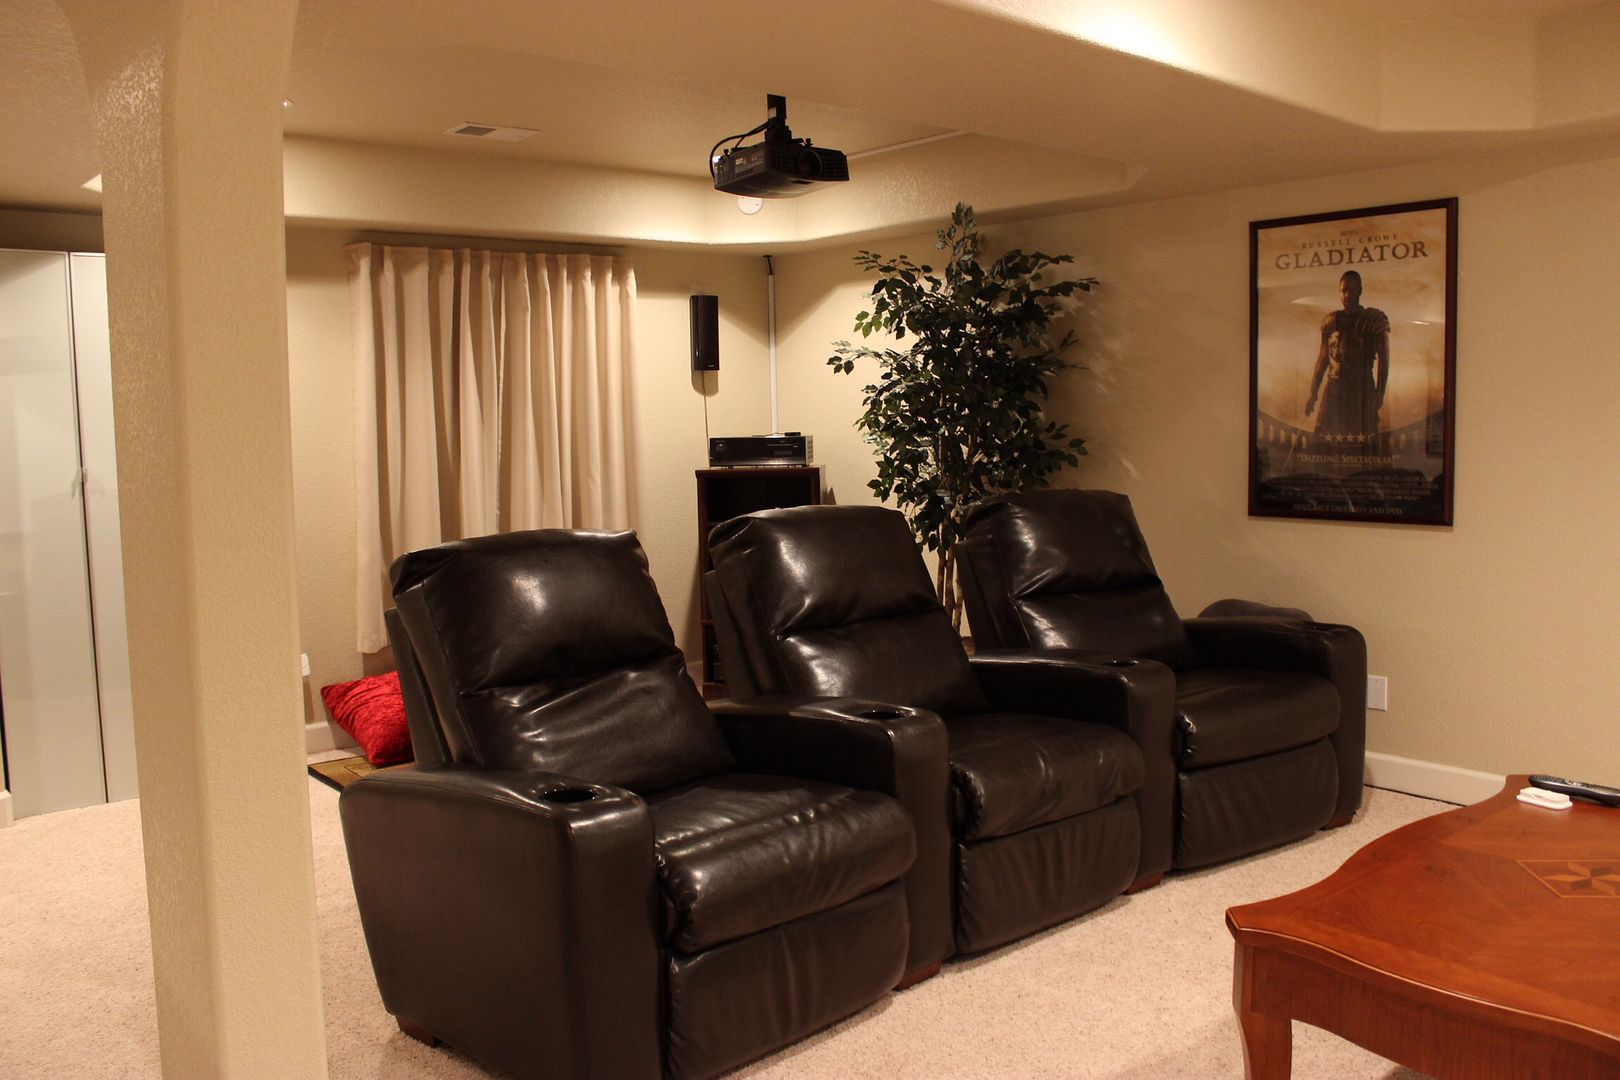
At our previous house, Mr. B had converted part of the basement into a home theater complete with a projector and a 110" screen. Of course, when we moved, the new house had to accommodate the same sort of set up.
Movie Night
He got that space & more!  The basement in the new house is HUGE!  And fully finished to boot!
Movie Night
Plenty of room for the screen and seating! He still needs to put the curtains up on the sides of the screen but it's working for now.
Movie Night
Now that we have a bigger space for our movie date nights, I can even make it that much more special by laying out a spread of Mr. B's favorite snacks to nosh on while we watch one of our favorite flicks.
Movie Night Snacks
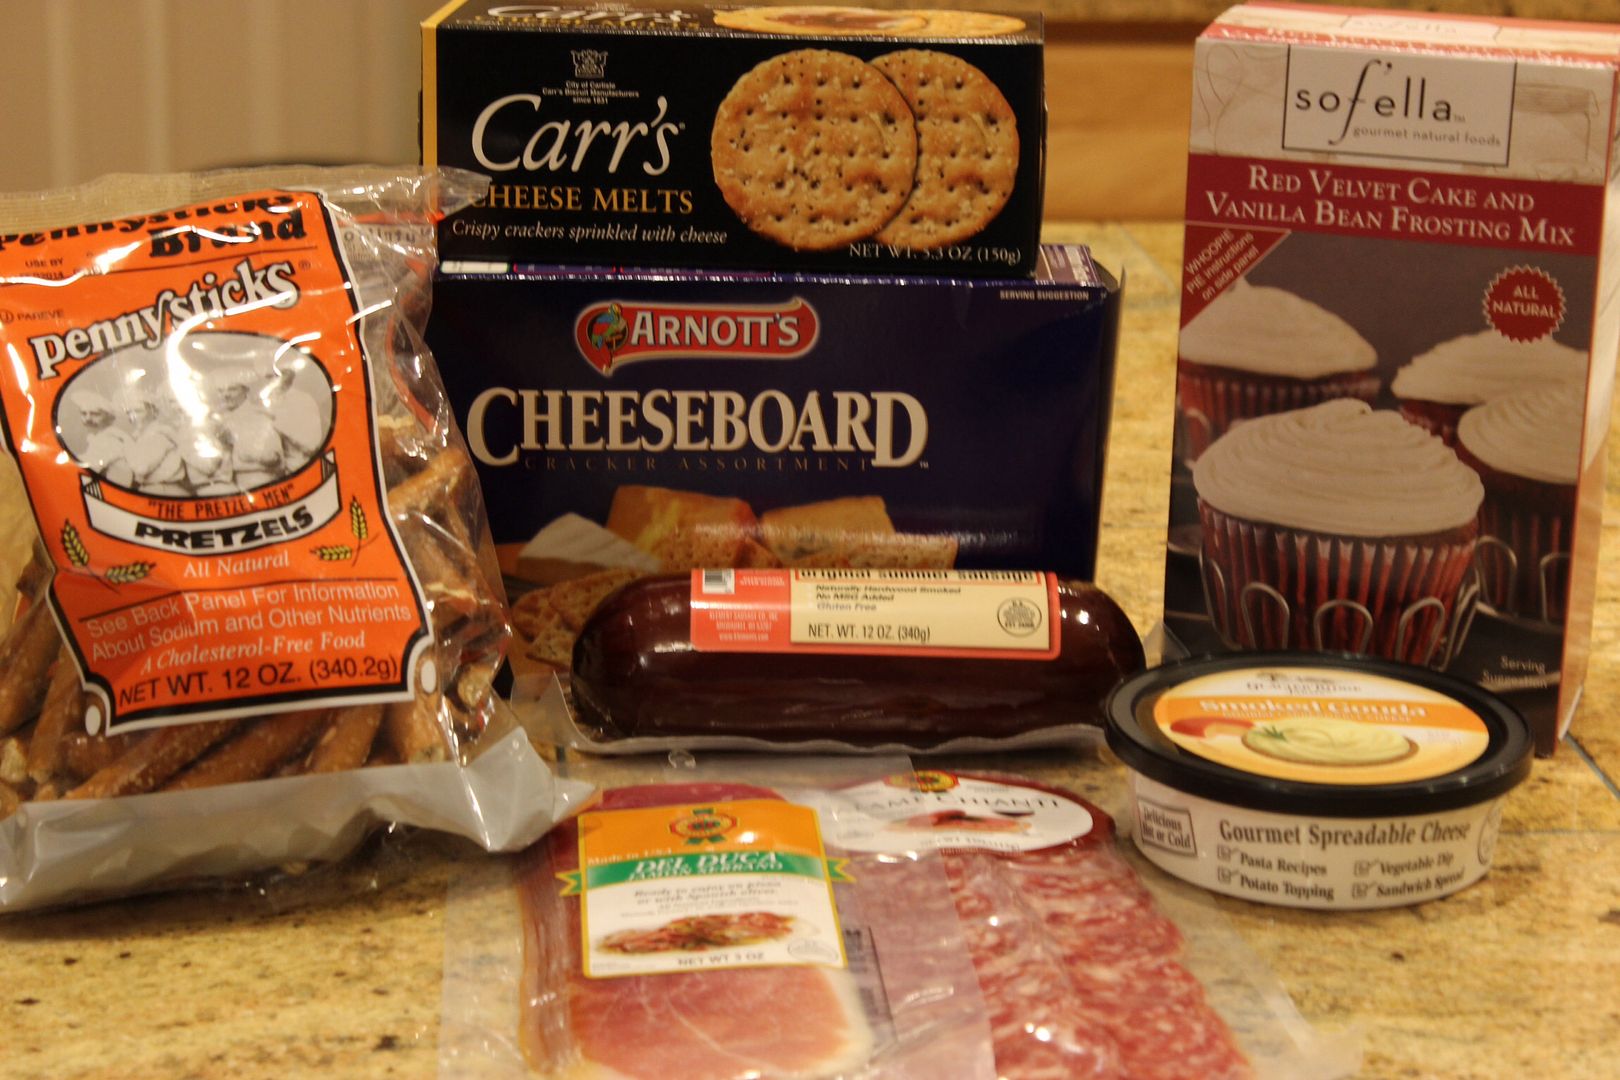
Luckily, one of my favorite stores, Cost Plus World Market, has all of his favorite food & drinks! Yummy stuff from around the world for movie night, or entertaining any time!
Movie Night Snacks
From meats and cheese
Movie Night Snacks
 To gourmet crackers.
Movie Night Snacks
And even, something sweet for my sweetie!
Movie Night Decor
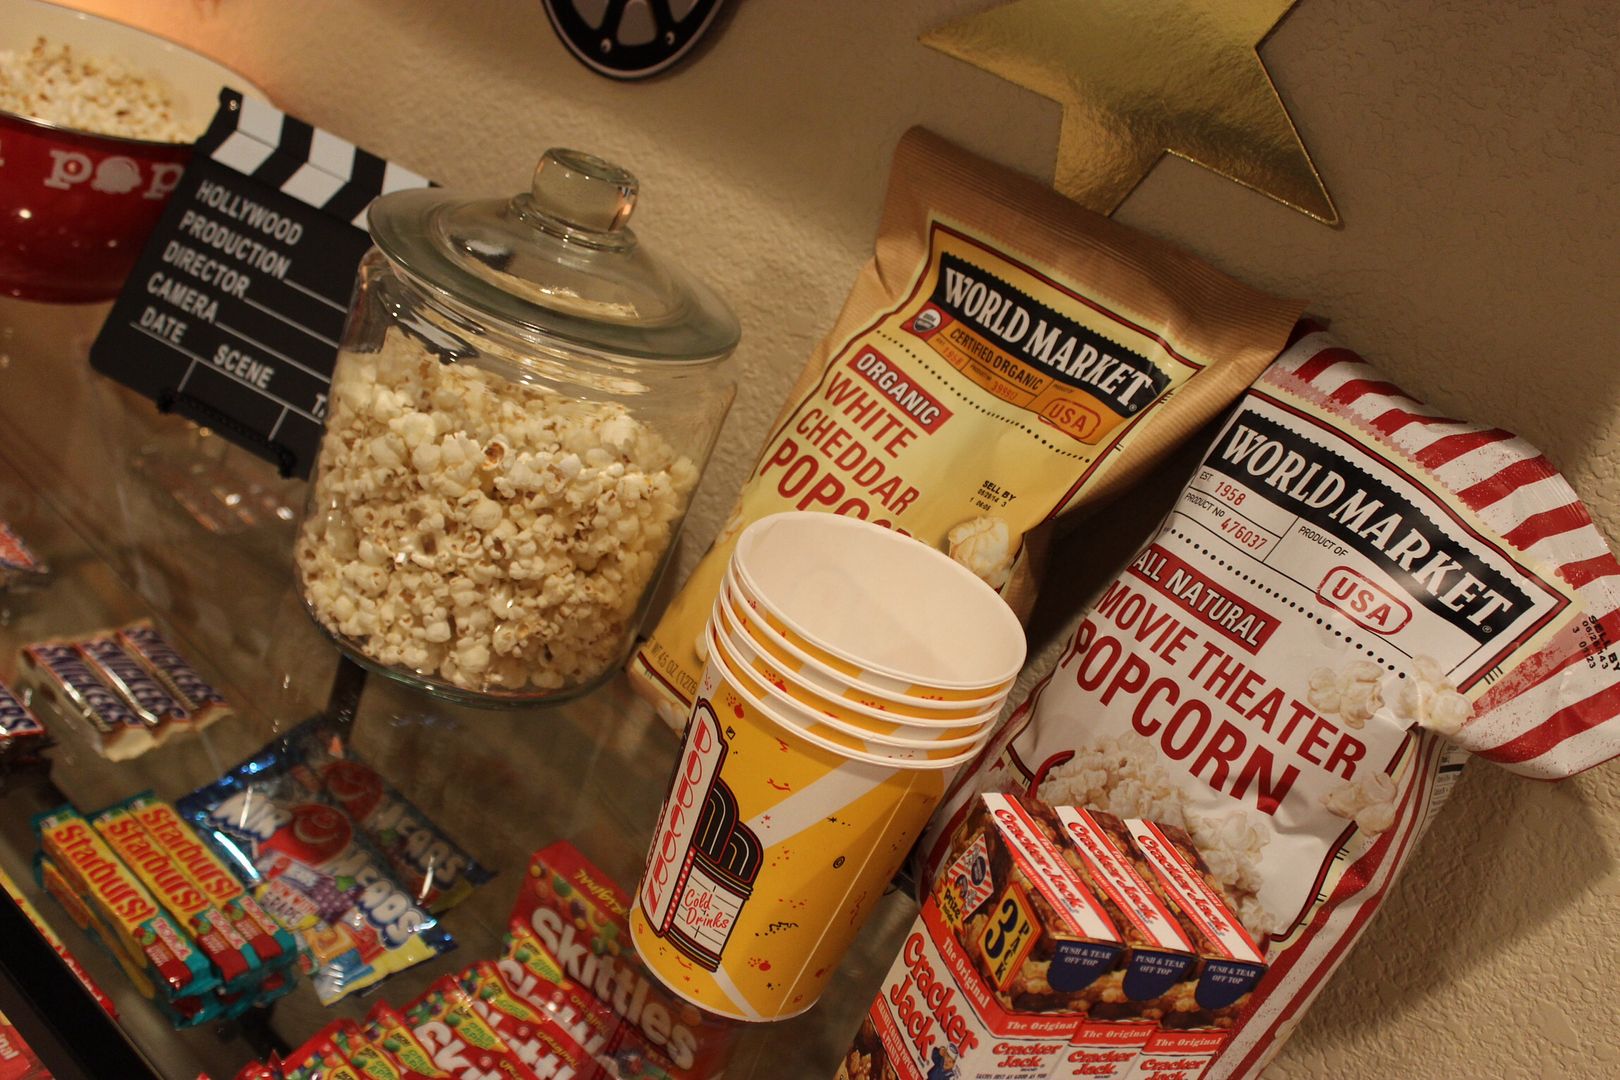
No theater would be complete without a candy counter and, of course, we have one of those too!  Perfect for setting up my spread.
Movie Night Decor
I was thrilled to find that Cost Plus World Market has all kinds of different popcorn flavors including traditional movie theater popcorn and Cracker Jacks!
Movie Night Snacks
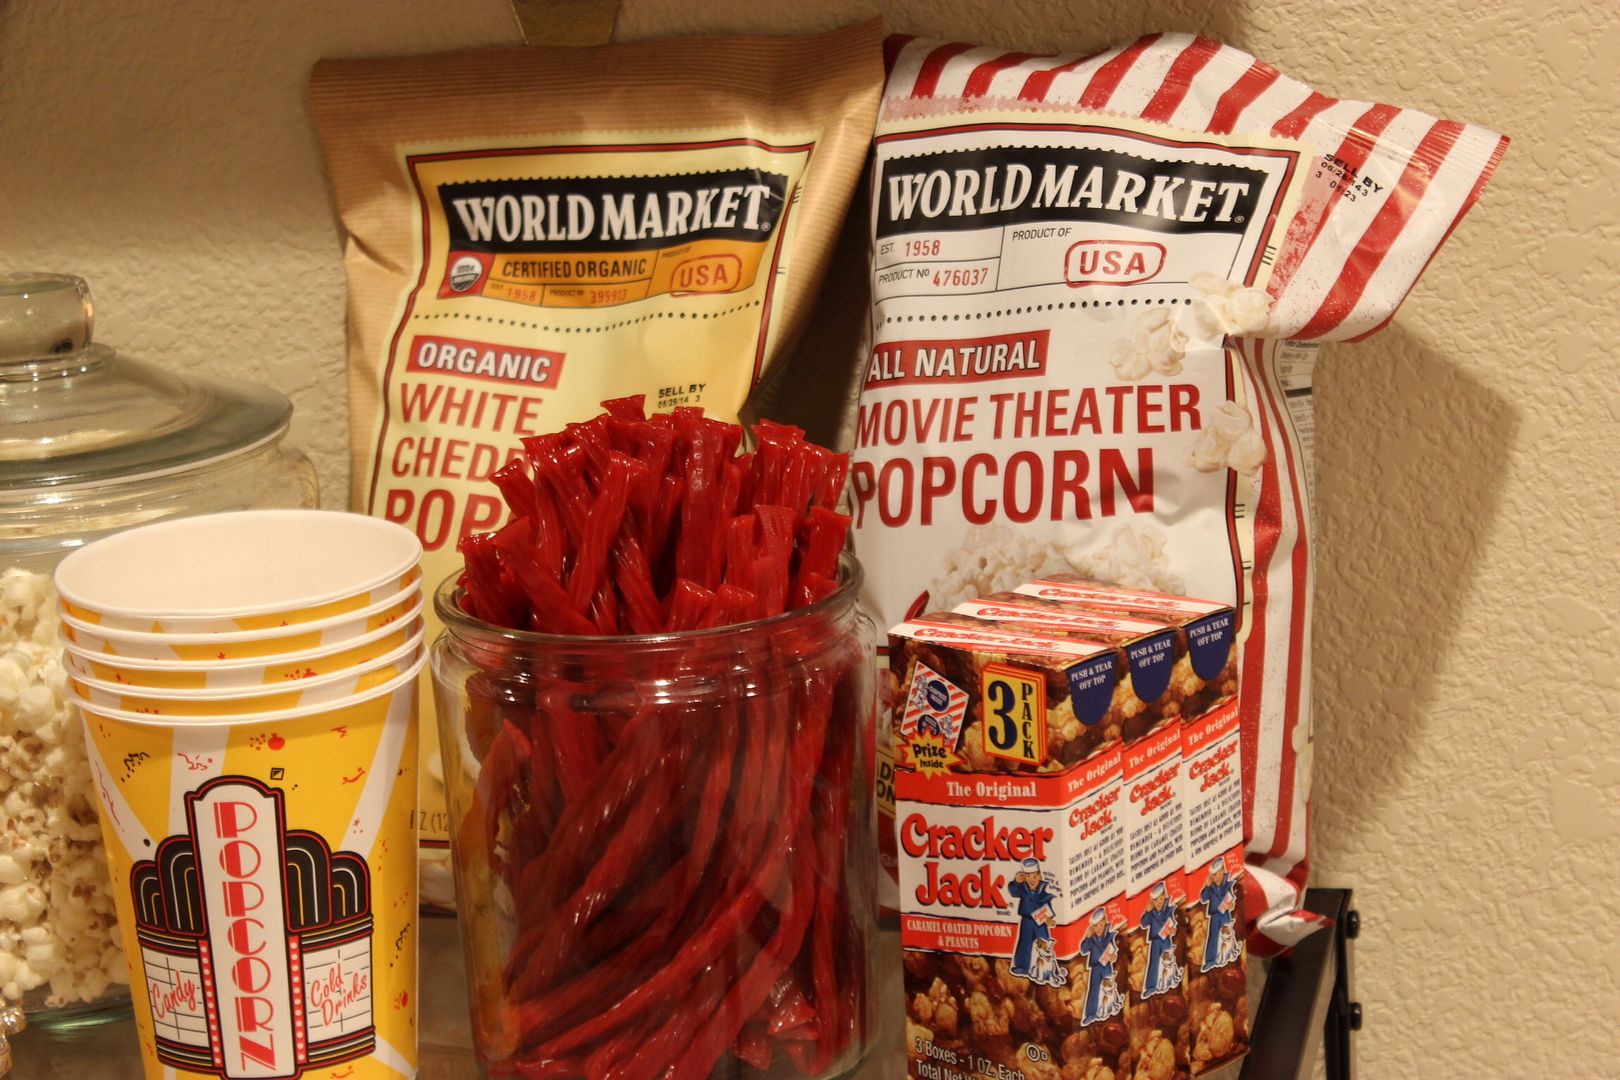
I put some of the White Cheddar into a big canister I found at World Market
Movie Night Decor
while the Movie Theater popcorn went into the cute red Popcorn bowl also found at World Market.
Movie Night Snacks
I wrapped the prosciutto around some big fat pretzels and arranged on a tray with the other meats and crackers. (pausing to let you know, the Cheese Melts crackers are the bomb! I could have eaten the whole box myself! Same with the smoked gouda cheese spread.  Heaven!!)
Movie Night Decor
I made up the red velvet cupcakes, dusted the vanilla bean frosting with some fine red candy, and placed those on a silver tray also.  Just because our date is at home doesn't mean we can't be a tad fancy, right?
Movie Night Decor

Movie Night Snacks
Red Vines in another smaller canister from World Market.
Movie Night Decor

Movie Night Decor

Movie Night Snacks

Movie Night Decor
It was so much fun putting all of this together, and seeing Mr. B's face when he came down the stairs was priceless!  He thought we were going back to our old ways of date night!  No siree! Welcome to the new and improved Date Night Movie Night Honey!

Now, how about you?  Do you love movies?  


Click here to see where I may be partying this week.
AND
Don't forget to come by on Tuesdays
for the link party.


Monday, February 24, 2014

You're Gonna Love It Tuesday

I realize February is the shortest month but, holy cow!!  
That was FAST!
This time next week we'll already be in March!
Good news about that is,
Spring begins SOON!  
(sigh) SOON!

The weather must have been really nice in your area this past week as not many of you came back to mingle and check out the other links.
So that I don't have to wish bad weather upon you,
do try to give some visit love to others that link up here too.
You know how much you like it, spread that feeling around some.

Now, let's get this party started!

Audrey from Timeless Treasures shared her awesome before & after of a vintage shirt display stand.
I love how she brought new life to it!  I could see it being used in vignettes all of the time in my decor!  
Be sure to grab yourself an I've Been Featured button Audrey and display it proudly!

Let's Party!


Feel free to link up anything you have created.
Recipes, decor, crafts, written or photographed.
Anything you are so proud of you just gotta share it with others.
I will reserve the option of deleting any post that I do not feel fits the
theme of my blog.

I love to spotlight some of my favorites on my Facebook page and pin them to my You're Gonna Love It Tuesday board on Pinterest so,
be sure to follow me there too! As always, you don't have to be a follower in order to link up. I want you to follow Kathe With An E because you want to, not because it is required.

You can sign up to receive my updates by email right here.
I would love it if you would link back in some way so that others come and party with us. Either grab the party button or add my blog link to your post or on your blog party page. But again, it's not required.

I ask that you please DO NOT link up giveaways, Etsy shops or anything for sale. Save those for the first Tuesday of each month (NEXT WEEK!) when,
Anything Goes!

Please remember, this is a party. So, after you link up, mingle around 
and visit some of the other party guests.

*By linking up your post, you are giving Kathe With An E permission to use your pictures as a feature on this blog and other social media outlets.

Be sure to stop by and visit these other great linky parties this week!
Life on Lakeshore Drive

Starbucks Verismo 580 Brewer Review

The other day I was Face Timing with my youngest son (my Lil Peanut's daddy) and somehow we got on the subject of coffee.  He asked if I liked coffee.  Silly silly young man!  I don't like coffee, I LOVE coffee!  Oh that deep dark elixir of hot steamy goodness just makes getting up in the early morning for work almost worth it. And, I don't stop there.  I drink coffee all day long too.  If you don't see a full coffee cup in my hand well, better call 911 cuz something ain't right with Kath!! As one of the most handsome actors of today, and obviously a smart man, Hugh Jackman once said "To me, the smell of fresh-made coffee is one of the greatest inventions." 

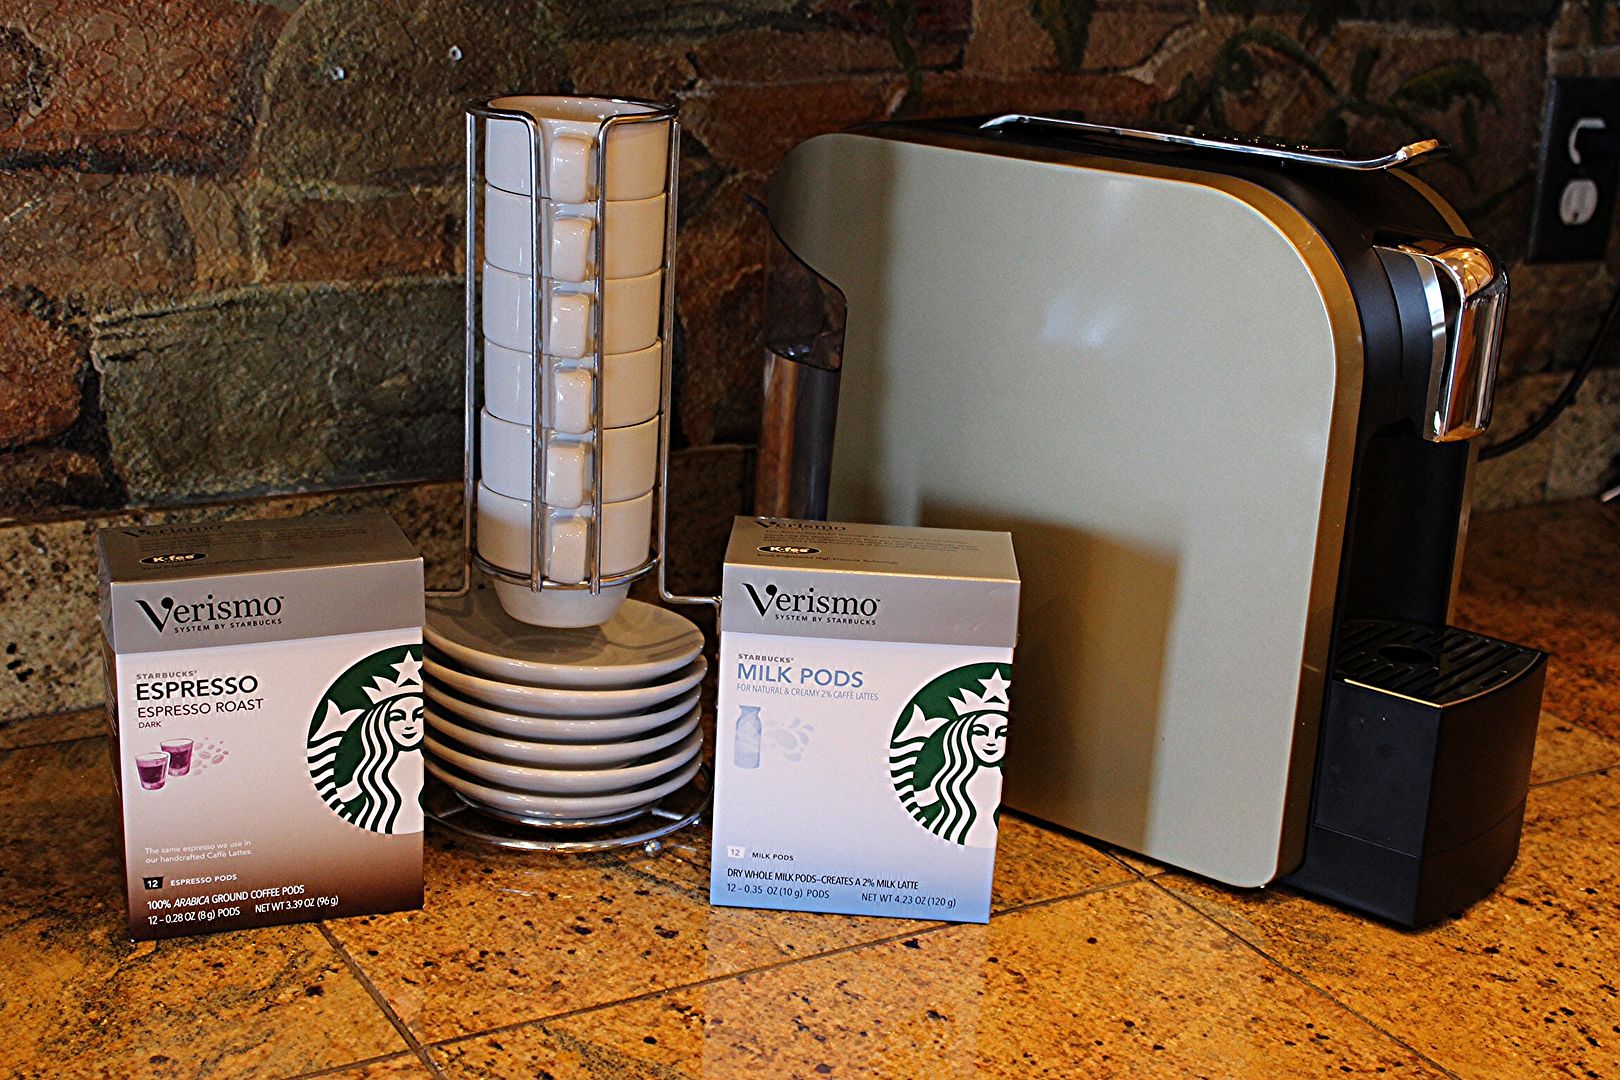
So, when I was given the chance by Staples to review the Starbucks Verismo 580 Brewer I very quickly said "sign me up"!
Starbucks Verismo Brewer Review
The brewer is available in several colors and I choose the champagne finish. I love that all our favorite flavors of coffee come in little single serving pods. They even have milk pods for making our favorite lattes.
Starbucks Verismo Brewer Review
The Starbucks Verismo Coffee System from Staples is really easy to use. Just fill the 1 liter water tank, plug it in, drop in a pod and push the cup the button of the size of cup you want.   This machine makes espresso and even regular coffee and has a function that internally whips the milk for your favorite coffee latte.  It is user friendly (aka I can do it, you can do it too!) and is very simple to clean with a integrated rinse feature.  It also has a cool built in pod removal system that stores up to 10 pods for disposal. 
Starbucks Verismo Brewer Review
From a single shot espresso
Starbucks Verismo Brewer Review
To a creamy, dreamy latte
Starbucks Verismo Brewer Review
the Starbucks Verismo Coffee System brewed them perfectly and in seconds flat! 
Starbucks Verismo Brewer Review
(cookies courtesy of the Girl Scouts)

**I received this Verismo Coffee System from Staples to review. All opinions are always honest and my own.**

Monday, February 17, 2014

You're Gonna Love It Tuesday

Hello and welcome to another fun filled week of inspired partying!

Happy post-Valentine's Day too!

Thank you all for all of the sweet birthday wishes!  
I would say my favorite gifts were new photos of my grand babies and a "hand-written" card from little Peanut! 
And I even got my much dreamed of juicy steak dinner!
Yes, it was as good as it looks <drool>

Ahem!  Anyway, let's keep the celebrating going and party like it's YOUR birthday!

The most viewed link from the last party came from Dawn from We Call It Junkin
Dawn shared some beautiful inspiration of her future sunroom.  
We had a sunroom at our previous house, and I can tell you, it looked NOTHING like any of these!!  Thanks for sharing all of these beautiful rooms with us Dawn! Be sure to grab an I've Been Featured button!

I also want to remind you that I try reallyreallyreally hard to respond to your comments but, if you do not hear from me it isn't because I want it that way, it is because you are a no-reply commenter and therefore, I CAN'T reply and I am so sorry.


**Before you link up, be sure to check out the 
Mohawk Home Rug Giveaway 
still going on right now**
Now, Let's Party!

Feel free to link up anything you have created.
Recipes, decor, crafts, written or photographed.
Anything you are so proud of you just gotta share it with others.
I will reserve the option of deleting any post that I do not feel fits the
theme of my blog.


Please remember, this is a party. So, after you link up, mingle around 
and visit some of the other party guests.

I love to spotlight some of my favorites on my Facebook page and pin them to my You're Gonna Love It Tuesday board on Pinterest so,
be sure to follow me there too! As always, you don't have to be a follower in order to link up. I want you to follow Kathe With An E because you want to, not because it is required.

You can sign up to receive my updates by email right here.
I would love it if you would link back in some way so that others come and party with us. Either grab the party button or add my blog link to your post or on your blog party page. But again, it's not required.

I ask that you please DO NOT link up giveaways, Etsy shops or anything for sale. Save those for the first Tuesday of each month when,
Anything Goes!

*By linking up your post, you are giving Kathe With An E permission to use your pictures as a feature on this blog and other social media outlets.

Be sure to stop by and visit these other great linky parties this week!
Life on Lakeshore Drive

This week’s party is sponsored by:
You blog. You Profit. Sign up for SocialSpark!
Adjust an oven rack to the middle position and heat the oven to 350 degrees. Grease and flour 2 9-inch cake pans, then line with parchment paper.
The Best Ever Carrot Layer Cake Recipe
Whisk the first 7 ingredients together in a medium bowl.
The Best Ever Carrot Layer Cake Recipe

The Best Ever Carrot Layer Cake Recipe
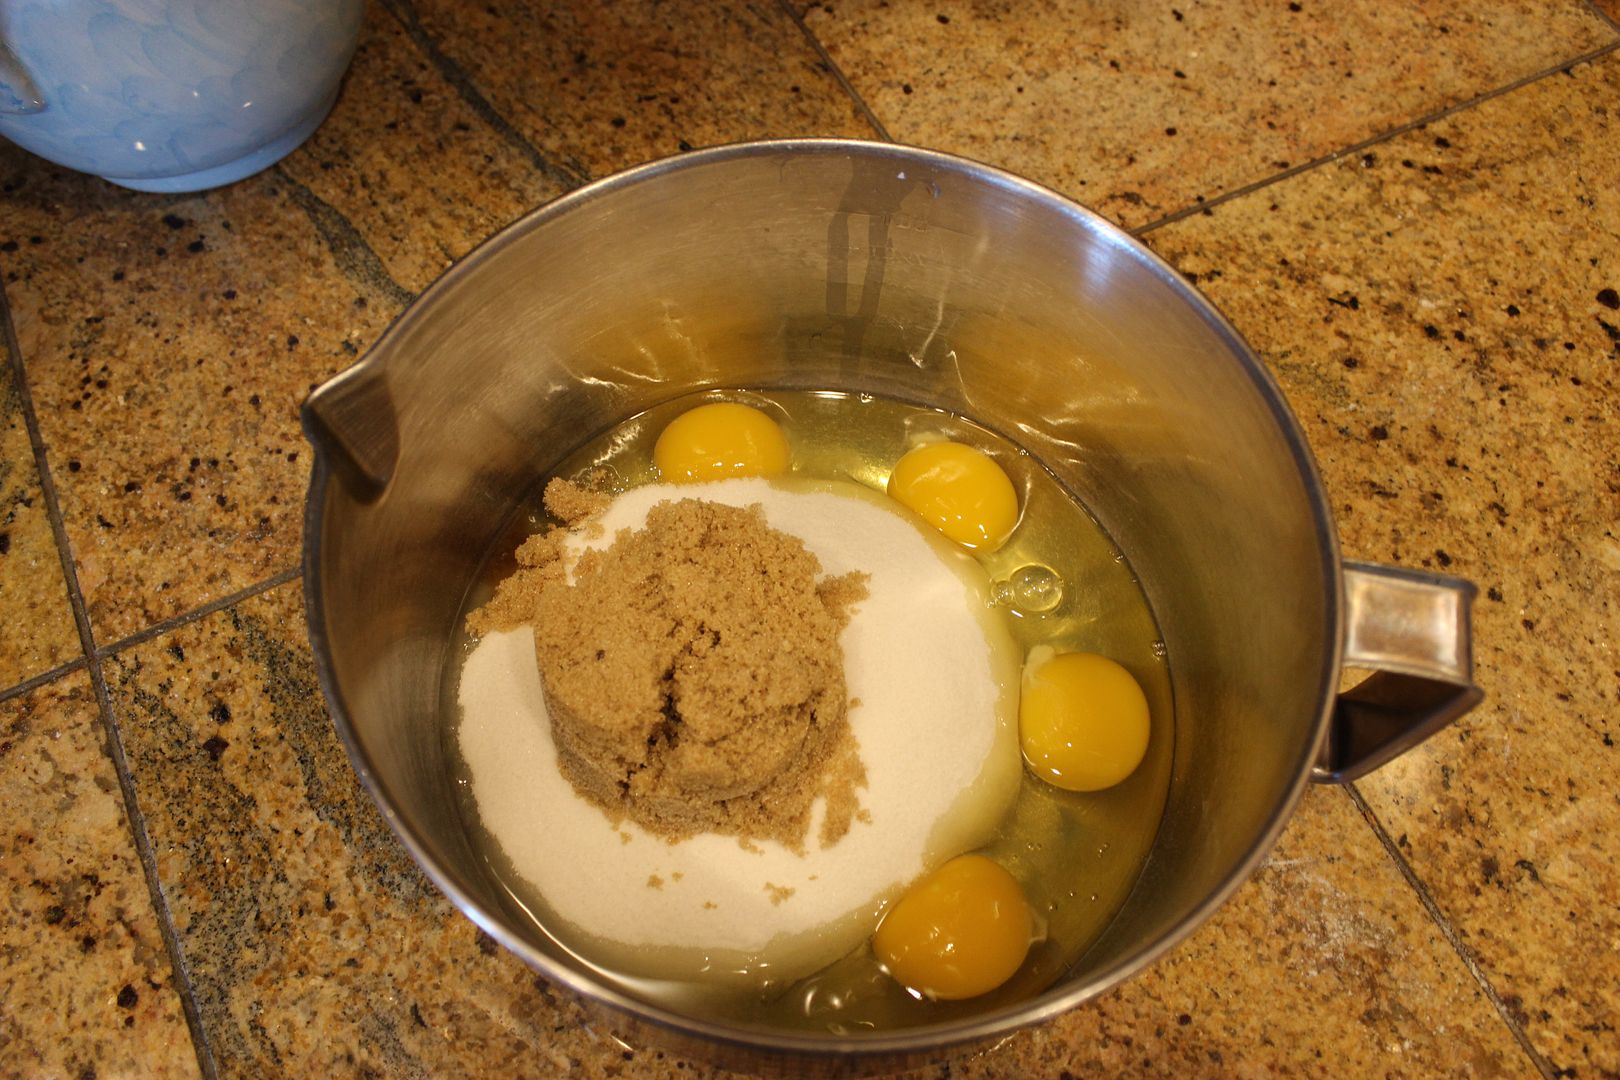
In a large bowl, whisk the eggs and sugars together by hand until the sugars are mostly dissolved and the mixture is frothy. Continue to whisk, while slowly drizzling in the oil, until thoroughly combined and emulsified. Whisk in the flour mixture until just incorporated. Stir in the raisins and the carrots.
The Best Ever Carrot Layer Cake Recipe

The Best Ever Carrot Layer Cake Recipe
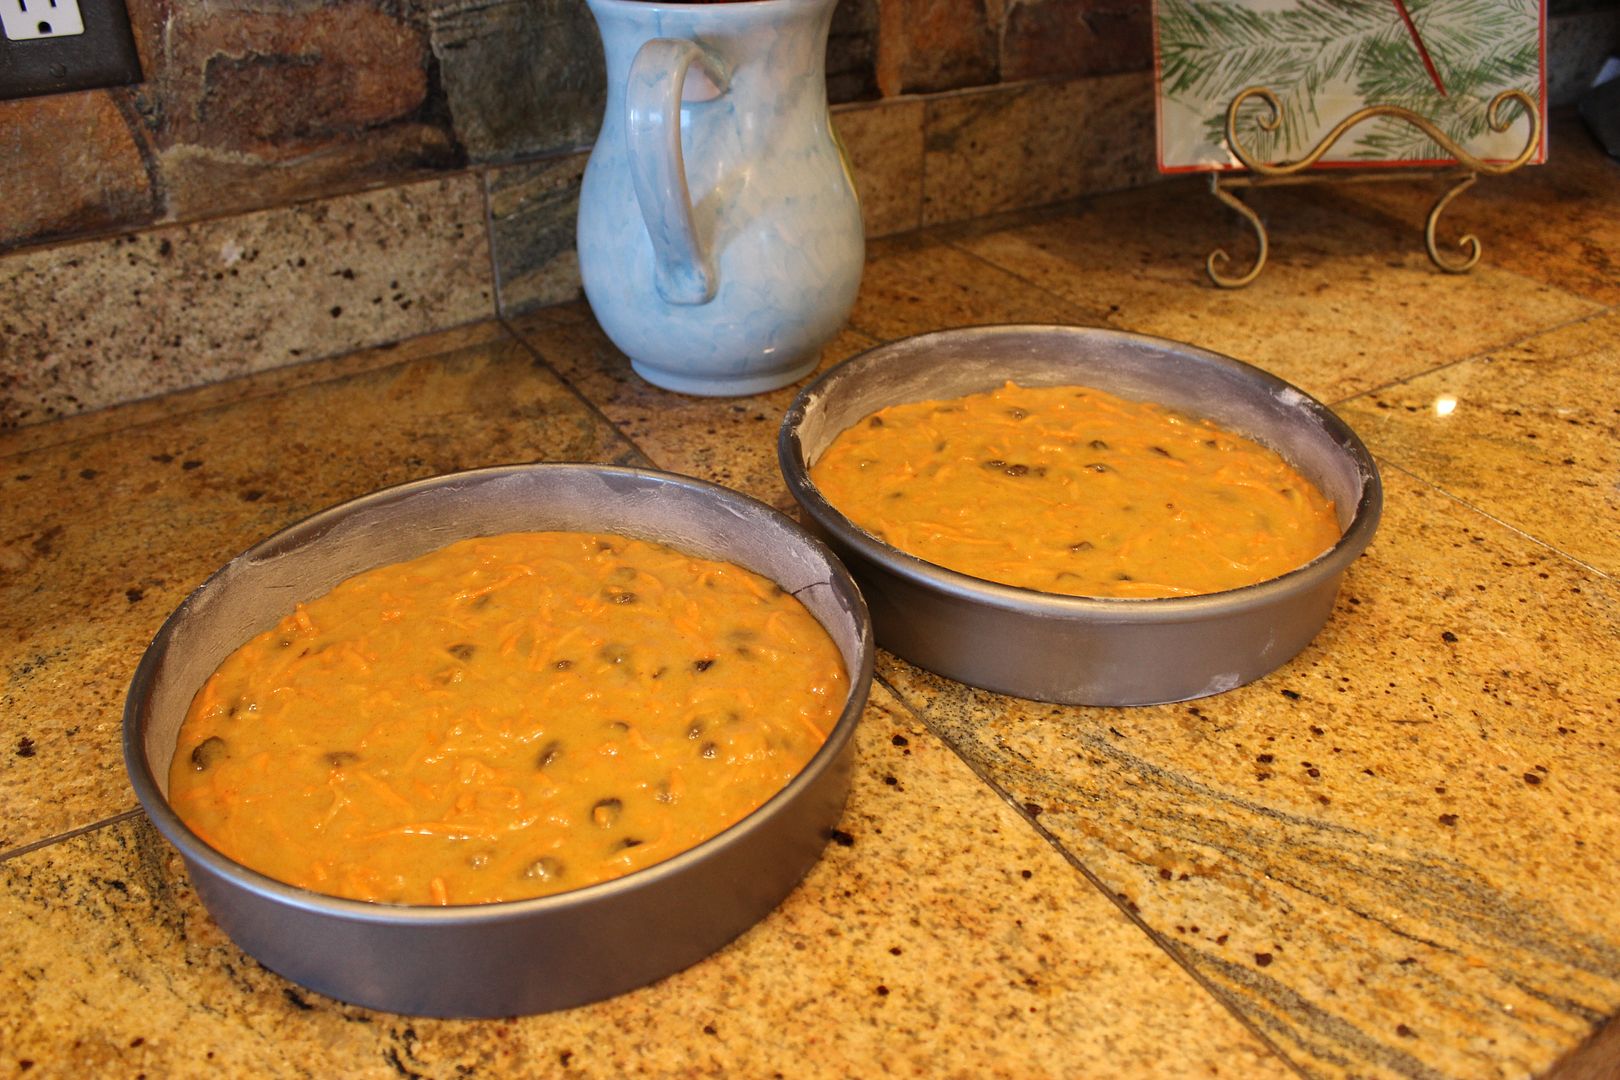
Give the batter a final stir with a rubber spatula to make sure it is thoroughly combined. Scrape the batter evenly into the prepared pans, smooth the tops, and gently tap the pans on the counter to settle the batter. Bake the cakes until a toothpick inserted in the center comes out with a few crumbs attached, about 25-30 minutes, rotating the pans halfway through baking.
The Best Ever Carrot Layer Cake Recipe

The Best Ever Carrot Layer Cake Recipe
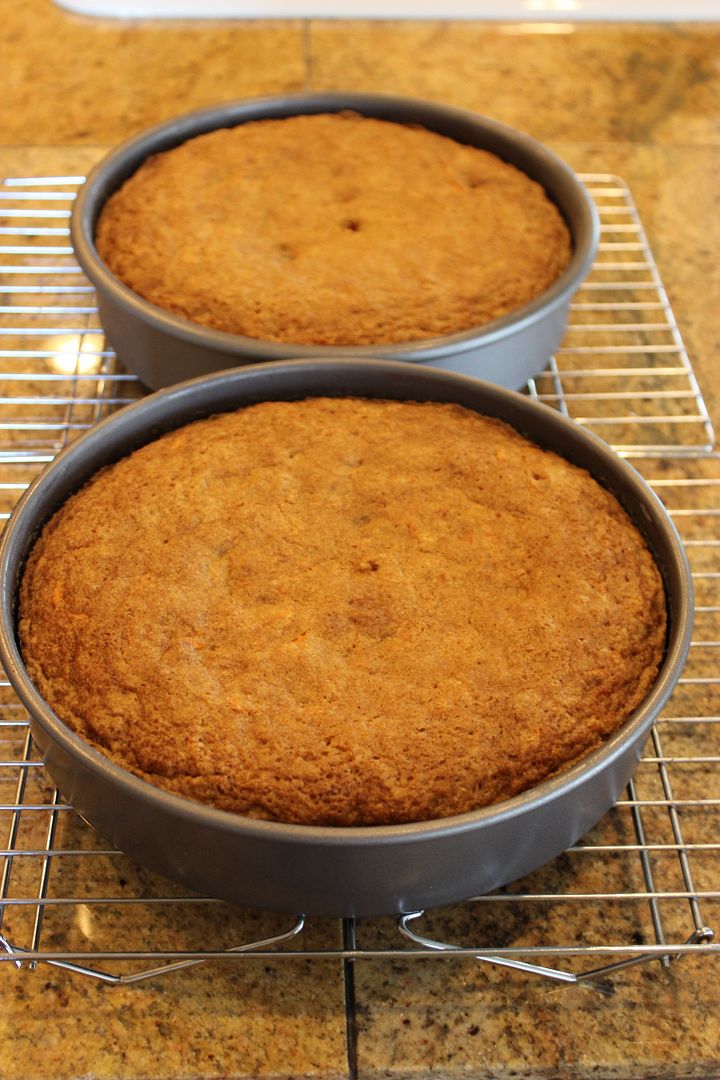
Let the cakes cool in the pans for 10 minutes. Run a small knife around the edge of the cakes, then flip them out onto a wire rack. Peel off the parchment paper, flip the cakes right side up, and let cool completely, about 2 hours.
The Best Ever Carrot Layer Cake Recipe
For the Cream Cheese Frosting:

2 (8-ounce) packages cream cheese, softened
10 tablespoons (1 1/4 sticks) unsalted butter, cut into ubes and softened
1/8 cup (2 tablespoons) sour cream
1 1/2 teaspoons vanilla extract
1/4 teaspoon salt
2 cups confectioners (powdered) sugar

Beat the cream cheese, butter, sour cream, vanilla and salt together in a large bowl with an electric mixer on medium-high speed until smooth, 2-4 minutes.

Reduce the mixer speed to medium-low, slowly add the powdered sugar, and beat until smooth, 4-6 minutes.  Increase the mixer speed to medium-high and beat until the frosting is light and fluffy, 4-6 minutes.
The Best Ever Cream Cheese Frosting Recipe
To frost the cake, cover the edges of your cake plate with strips of parchment paper to help keep it clean. Slide the paper out once the frosting job is done.
The Best Ever Cream Cheese Frosting Recipe
Place one cake on the plate, making sure it is level. Dollop a portion of frosting in the center of the cake. Spread into an even layer right to the edges. Lay the second layer on top. Dollop more frosting in the center and spread slightly over the edge.
Gather a few tablespoons of frosting on the tip of the spatula, then gently smear it onto the side of the cake. Use gently motions and don't press too hard or you will wind up with crumbs in your frosting. Clean off the spatula as needed and follow the same instructions all around the cake. Gently run the edge of the spatula around the sides to smooth any bumps and to tidy the area where the frosting from the top and sides merge. Gently slide out the parchment paper from under the cake and stand back and admire your beautifully decorated cake.
The Best Ever Carrot Layer Cake Recipe
So pretty and seriously delicious enough to make a cake lover out of Mr. B!

Click here to see where I may be partying this week.
AND
Don't forget to come by on Tuesdays
for the link party.